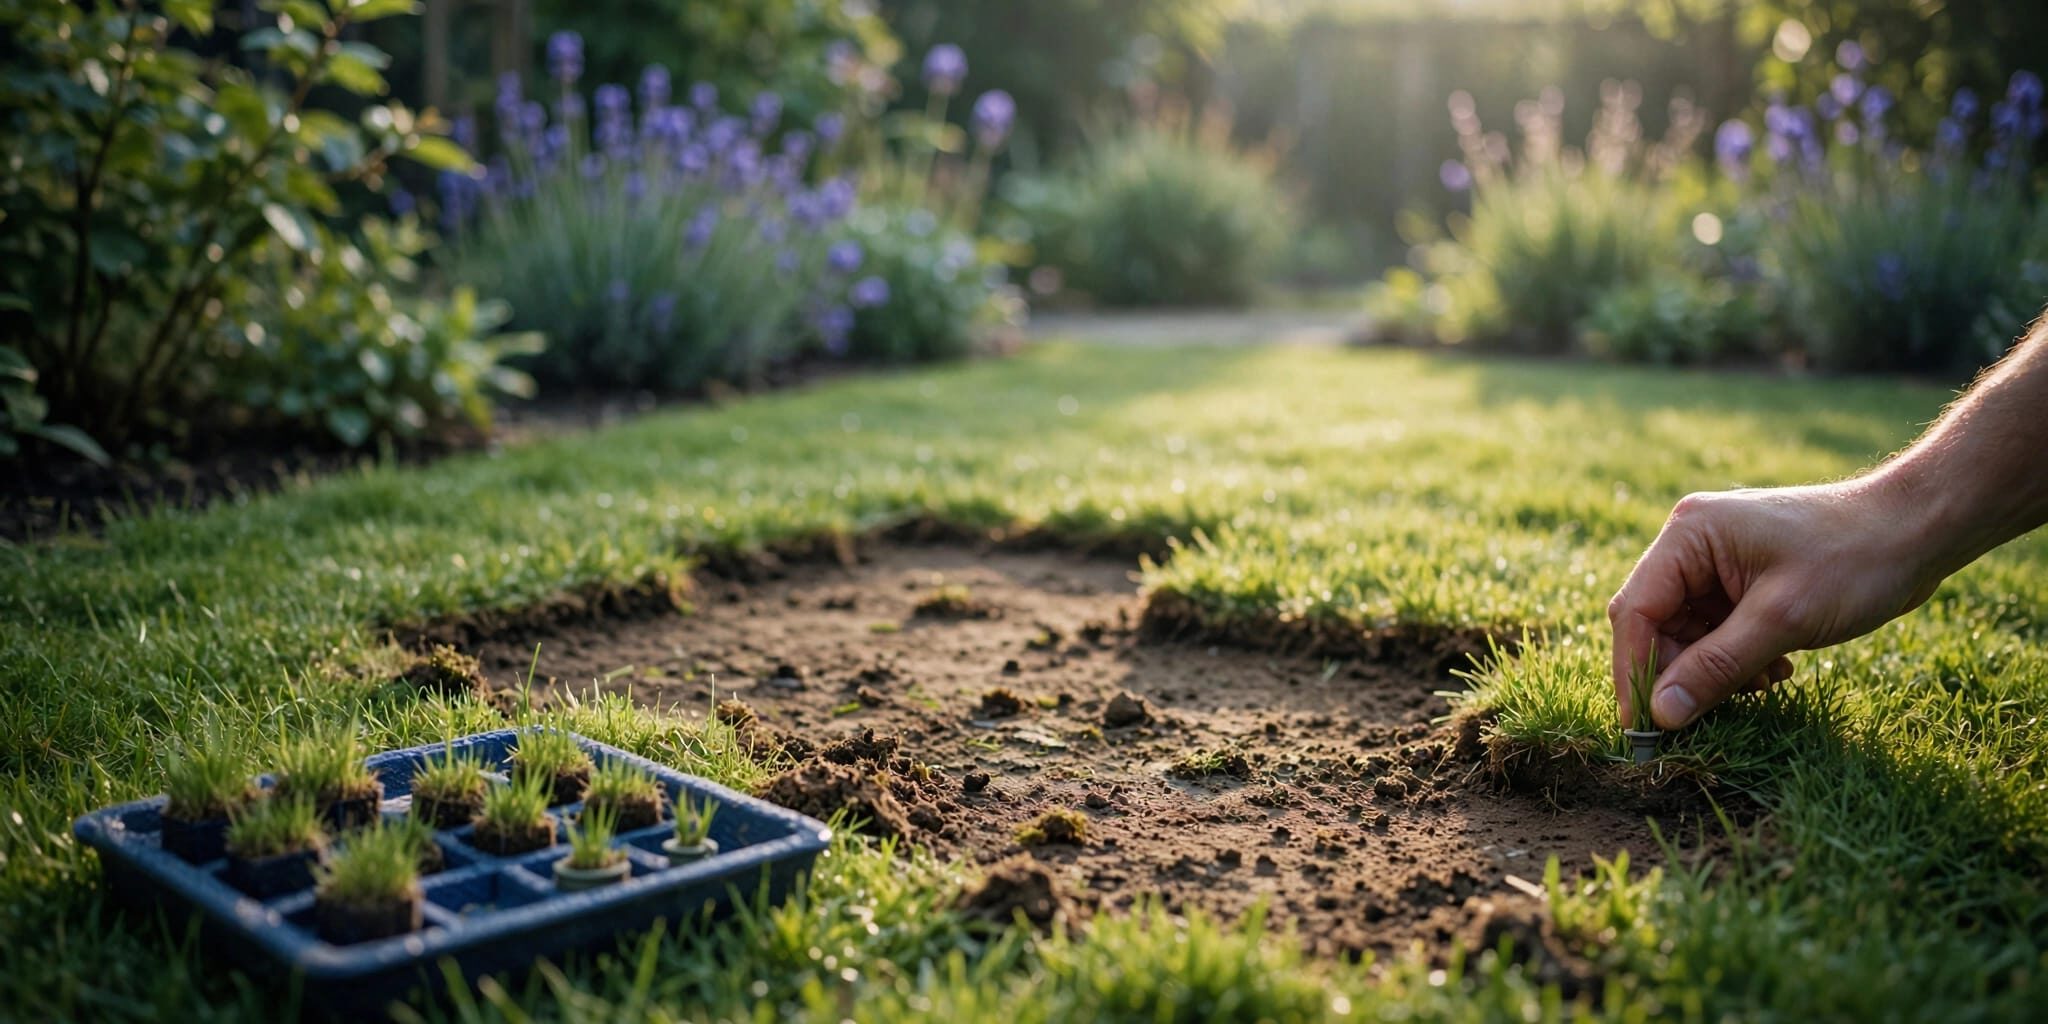
Repairing bare spots after lawn insect damage starts with controlling active feeding, preparing the soil, and replacing grass that can’t recover. Seed, plugs, or sod can restore coverage, but the right choice depends on your grass type and growing season.
We recommend confirming the cause before treating or planting because drought, disease, and irrigation problems often resemble insect injury. Start at the damaged area’s edge to determine what your lawn needs.
Key Takeaways
- Confirm insects or fresh feeding before applying a pesticide.
- Inspect roots, crowns, and foliage because different pests damage different parts of the plant.
- Control the cause before reseeding or replacing dead plants.
- Match the repair method and timing to your grass species.
- Support recovery with proper watering, mowing, and measured fertilization.
Inspect the Lawn Before Choosing a Repair
Start at the Green-to-Brown Border
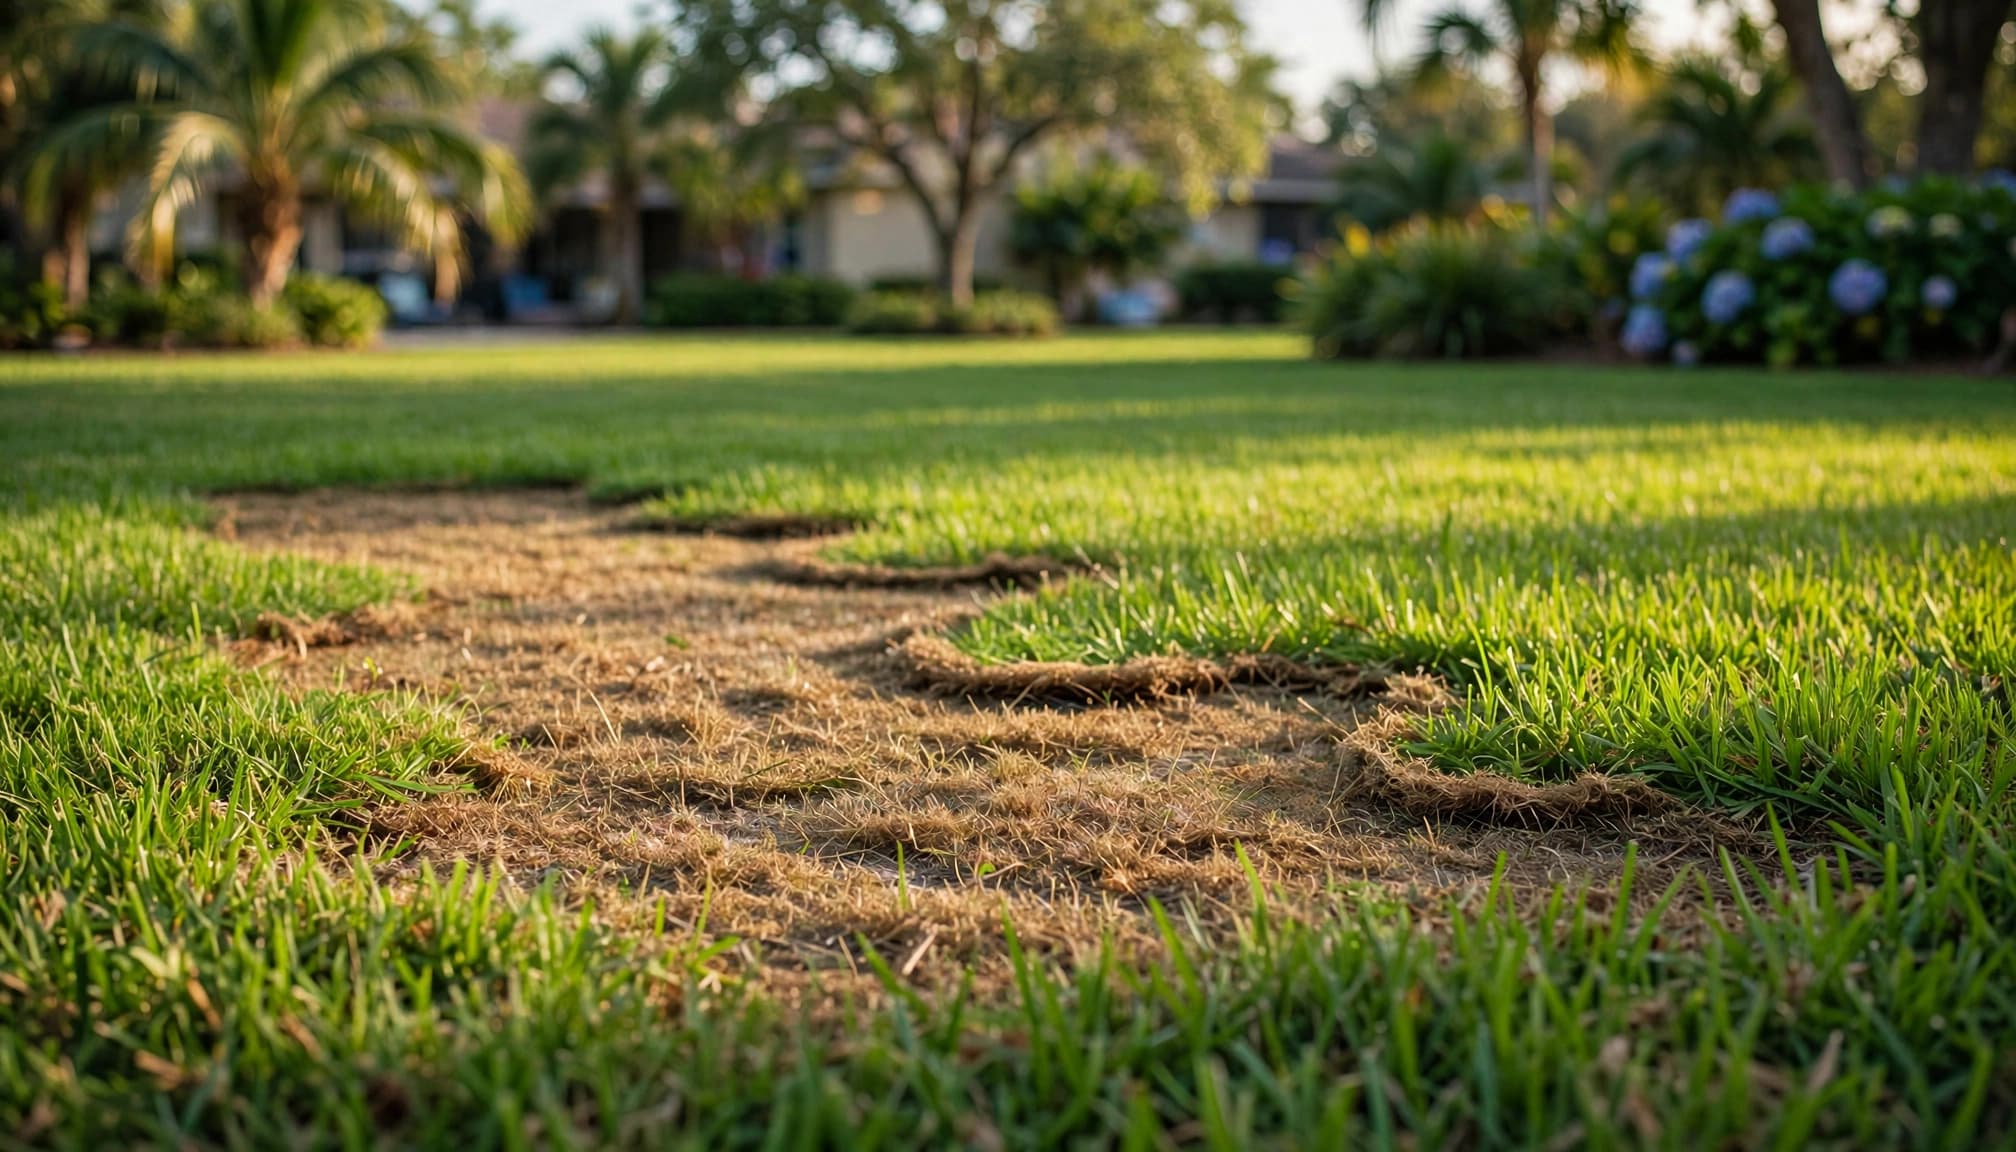
The boundary between healthy and declining plants often provides better evidence than the completely dead center. Inspect several locations because feeding and growing conditions can vary across one lawn.
Compare moisture, blade condition, and root strength with nearby healthy plants. Look beneath the plants, around the crown where leaves meet roots, and through the upper layer.
Use these symptoms to identify whether feeding is happening above or below ground. If injury appears mainly on blades, check for chewing and insects near the surface. Caterpillars chew leaves, while chinch bugs feed on plant fluids and cause expanding yellow-to-brown patches.
Use a Tug Test and Soil Check
Gently pull on affected plants. If they separate unusually easily, inspect the root zone rather than assuming the lawn needs water.
Cut three sides of a 1-foot square near the affected edge. Fold back the area and examine roots and ground about 2 to 3 inches deep. Count and photograph insects, replace the flap, and repeat elsewhere.
Increased bird activity can suggest insects below ground, but it doesn’t establish the cause. Fresh sod may also lift simply because it hasn’t rooted yet. If the evidence remains ambiguous, ask a professional to inspect the lawn.
Recognize Grub and Billbug Damage
Grubs Leave Turf Loose at the Roots
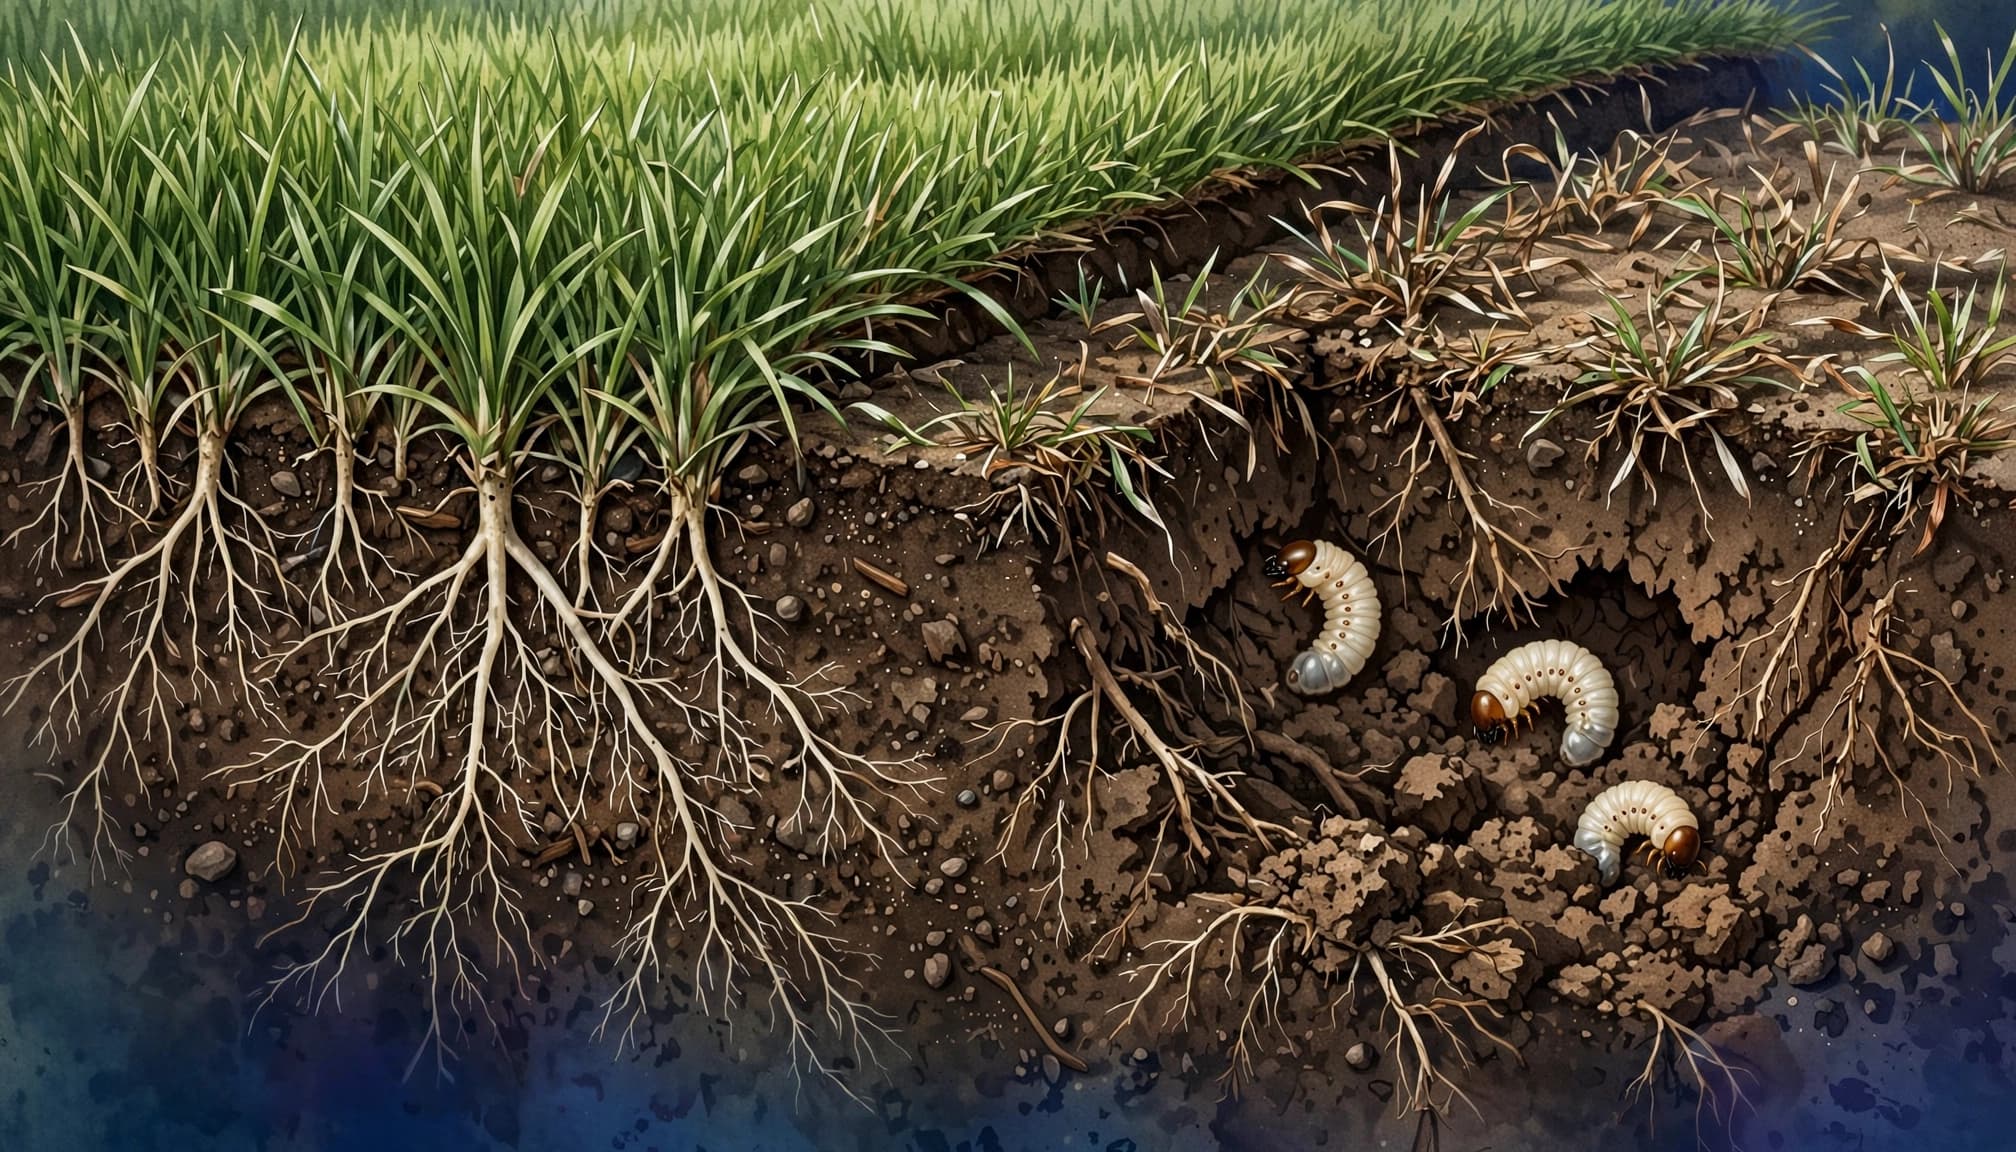
White grubs chew plant roots, which reduces the lawn’s ability to absorb water. Thin vegetation in late summer can be an early warning, followed by irregular brown patches.
Severely affected vegetation lifts like a loose carpet because too few roots remain to anchor it. Look for creamy white, C-shaped larvae alongside shortened or missing roots.
Our guide to white grub damage in lawns covers these signs. Finding a grub alone doesn’t establish that treatment is necessary; feeding injury and the lawn’s condition matter too.
Billbugs Damage Stems and Crowns
Billbug injury often starts with yellowing blades. Damaged stems may crumble near the crown and release sawdust-like frass, which is feeding debris and insect waste.
Hollow stems, weakened runners, and pale, legless larvae provide additional clues. Utah State University’s research on billbug management describes yellowing patches that expand into brown, dying vegetation.
In St. Augustine grass, damaged runners may break easily. Our guidance on identifying hunting billbug damage explains why these symptoms can resemble drought.
Separate Insect Injury From Other Lawn Problems
Recognize Disease Before Adding Water
Brown patch can produce tan or straw-colored circles with a darker border, particularly in tall fescue. Warm, damp conditions favor its development.
NC State Extension’s brown patch guidance identifies especially severe conditions when nighttime lows exceed 70°F and daytime highs exceed 90°F. These conditions increase risk, but temperature alone isn’t a diagnosis.
Evening watering can leave foliage wet overnight and encourage outbreaks. Water early enough for foliage to dry before nightfall. Southwest Florida’s warm-season lawns can have other disease problems, so circular injury shouldn’t automatically be labeled brown patch.
Compare Watering, Soil, and Maintenance Clues
Use the injury pattern to choose your next inspection.
| Possible cause | Useful clues | Appropriate response |
|---|---|---|
| Drought or missed irrigation | Uniform bronzing, folded blades, or dry strips | Measure coverage and inspect ground moisture |
| Compaction | Hard upper soil, water beading, and runoff | Relieve compaction when grass can tolerate aeration |
| Dull mower blades | Frayed, brown leaf tips | Sharpen blades and correct mowing practices |
| Fertilizer injury | Burn after application or spreader-shaped patterns | Stop unnecessary feeding and assess ground conditions |
After several rain-free July days, drought may appear as gray-brown grass on sunny slopes or south-facing edges. That pattern calls for an irrigation check before pest control.
Compacted ground often has a hard top inch. Core aeration followed by overseeding is a common correction for suitable seeded lawns, but weakened turf shouldn’t undergo aggressive work.
Run a soil test to identify nutrient needs before adding fertilizer. Excess feeding can produce tender growth without restoring damaged roots, and overfertilizing can increase lawn stress.
Control Active Feeding Before Replacing Grass
Planting into an active infestation can expose replacement grass to the same damage. Treat only when the pest, fresh feeding, and lawn condition support that decision.
Cornell’s turfgrass insect management guidance provides background on lawn pests. Our guidance on when lawn insects warrant treatment also emphasizes confirming the cause before application.
Use a product labeled for the confirmed pest and grass type, and follow its complete directions. Some products require irrigation; others need dry conditions. Applying water automatically can interfere with the product, so check when to water after a lawn insecticide application before you restart irrigation.
Stopping insect feeding and restoring green coverage are separate tasks. A brown patch can remain after successful control because damaged grass still needs new growth or replacement.
Professional inspection is appropriate when affected areas spread quickly, multiple areas decline, or insect and disease symptoms overlap.
Repair Bare Spots Step by Step
Once the cause is controlled, prepare the area for healthy root growth. Preserve living growth where possible rather than removing everything that looks brown.
- Determine what is still alive. Check crowns and runners for firm tissue and new shoots. Thin areas with living growth points may recover, while dead crowns and missing roots usually require replacement.
- Remove dead material gently. Rake loose debris and lift dead turf without tearing neighboring runners. Remove enough material to expose the ground, but avoid aggressive dethatching across weakened plants.
- Correct the growing conditions. Repair missed sprinkler coverage, drainage problems, or compacted ground before planting. Core aeration can improve compacted areas when plants are actively growing and strong enough to tolerate it.
- Prepare a level planting surface. Loosen the exposed ground and remove debris. Keep the finished surface even with surrounding growth so irrigation doesn’t collect in a depression or drain off a raised patch.
- Install compatible replacement material. Use suitable seed for lawns established from seed, or matching plugs or sod for lawns established vegetatively. Follow planting directions, provide close contact with the ground, and protect the area from traffic. New seedlings initially have shallow roots, so keep them in close contact with the prepared ground.
Sod needs contact with the soil beneath it, not a thick layer of loose thatch. Seed also needs contact with prepared ground rather than resting on dead blades.
Avoid piling ground over surviving crowns. Deep covering can create another recovery problem beside the original bare spot.
Match the Repair to the Grass and Season
Late summer into early fall is the prime recovery window for cool-season lawns. Warm soil supports establishment, while cooler nights reduce summer stress.
Tall fescue commonly needs reseeding where plants have died because it doesn’t spread enough to close substantial gaps. Kentucky bluegrass can fill smaller openings through underground stems when nearby plants remain healthy.
Warm-season lawns follow a different schedule. In Fort Myers, Naples, and Bonita Springs, repairs should align with active growth rather than a northern fall-seeding calendar.
St. Augustine grass is repaired with matching sod or plugs, not ordinary lawn seed. Bermudagrass can spread into small gaps, although larger dead areas may need replacement material.
Sod provides immediate coverage, but it still needs time to root. Plugs leave open soil between plants and require more growing time. Choose the method based on bare-area size, surviving turf, and the available growing season.
Water and Mow for Healthy Recovery
New seed and plugs have shallow roots, so keep the planting zone consistently moist until roots develop, without leaving the ground saturated.
As roots develop, gradually transition to deeper, less frequent watering suited to your grass and soil. Account for rainfall rather than running irrigation on the same schedule every week.
Measure sprinkler output with catch containers and inspect coverage around repaired areas. A missed strip can dry out while the rest of the lawn receives adequate water.
Use a sharp mower and the recommended height for your grass variety. Remove no more than one-third of the leaf tissue during one mowing. Cutting too low removes useful tissue and exposes the ground to heat and moisture loss.
Repeated scalping also leaves plants less able to tolerate pest feeding. Wait until replacement material is firmly rooted before mowing it.
The University of Maryland’s established lawn maintenance guidance explains how mowing, irrigation, aeration, and nutrition work together.
Frequently Asked Questions
Does Brown Grass Mean Treatment Failed?
Brown turf alone doesn’t indicate continuing insect activity. We recommend reassessing treated areas after seven to ten days unless service instructions specify another schedule.
Compare photos and inspect for live pests, fresh feeding, or expanding injury. Avoid another application based only on unchanged color. Dead blades won’t turn green again; recovery appears through new growth.
When Can Children and Pets Return to Treated Turf?
Keep children and pets away from the treated area for the full period required by the product label and service instructions. Depending on the product, restrictions may involve drying, watering-in, or a stated entry interval.
Visible residue doesn’t establish whether the lawn is ready for use. Follow all applicable restrictions rather than judging the surface by appearance.
Restore the Lawn by Correcting the Cause
Successful lawn repair depends on healthy growing conditions after active insect feeding stops. Confirm the source of injury, preserve living turf, and replace dead areas with grass suited to your lawn.
We recommend professional inspection when fresh damage continues or the cause remains unclear. A targeted repair plan protects replacement grass and gives your lawn a dependable path back to healthy coverage.